
Impaling clips
2023-02-04
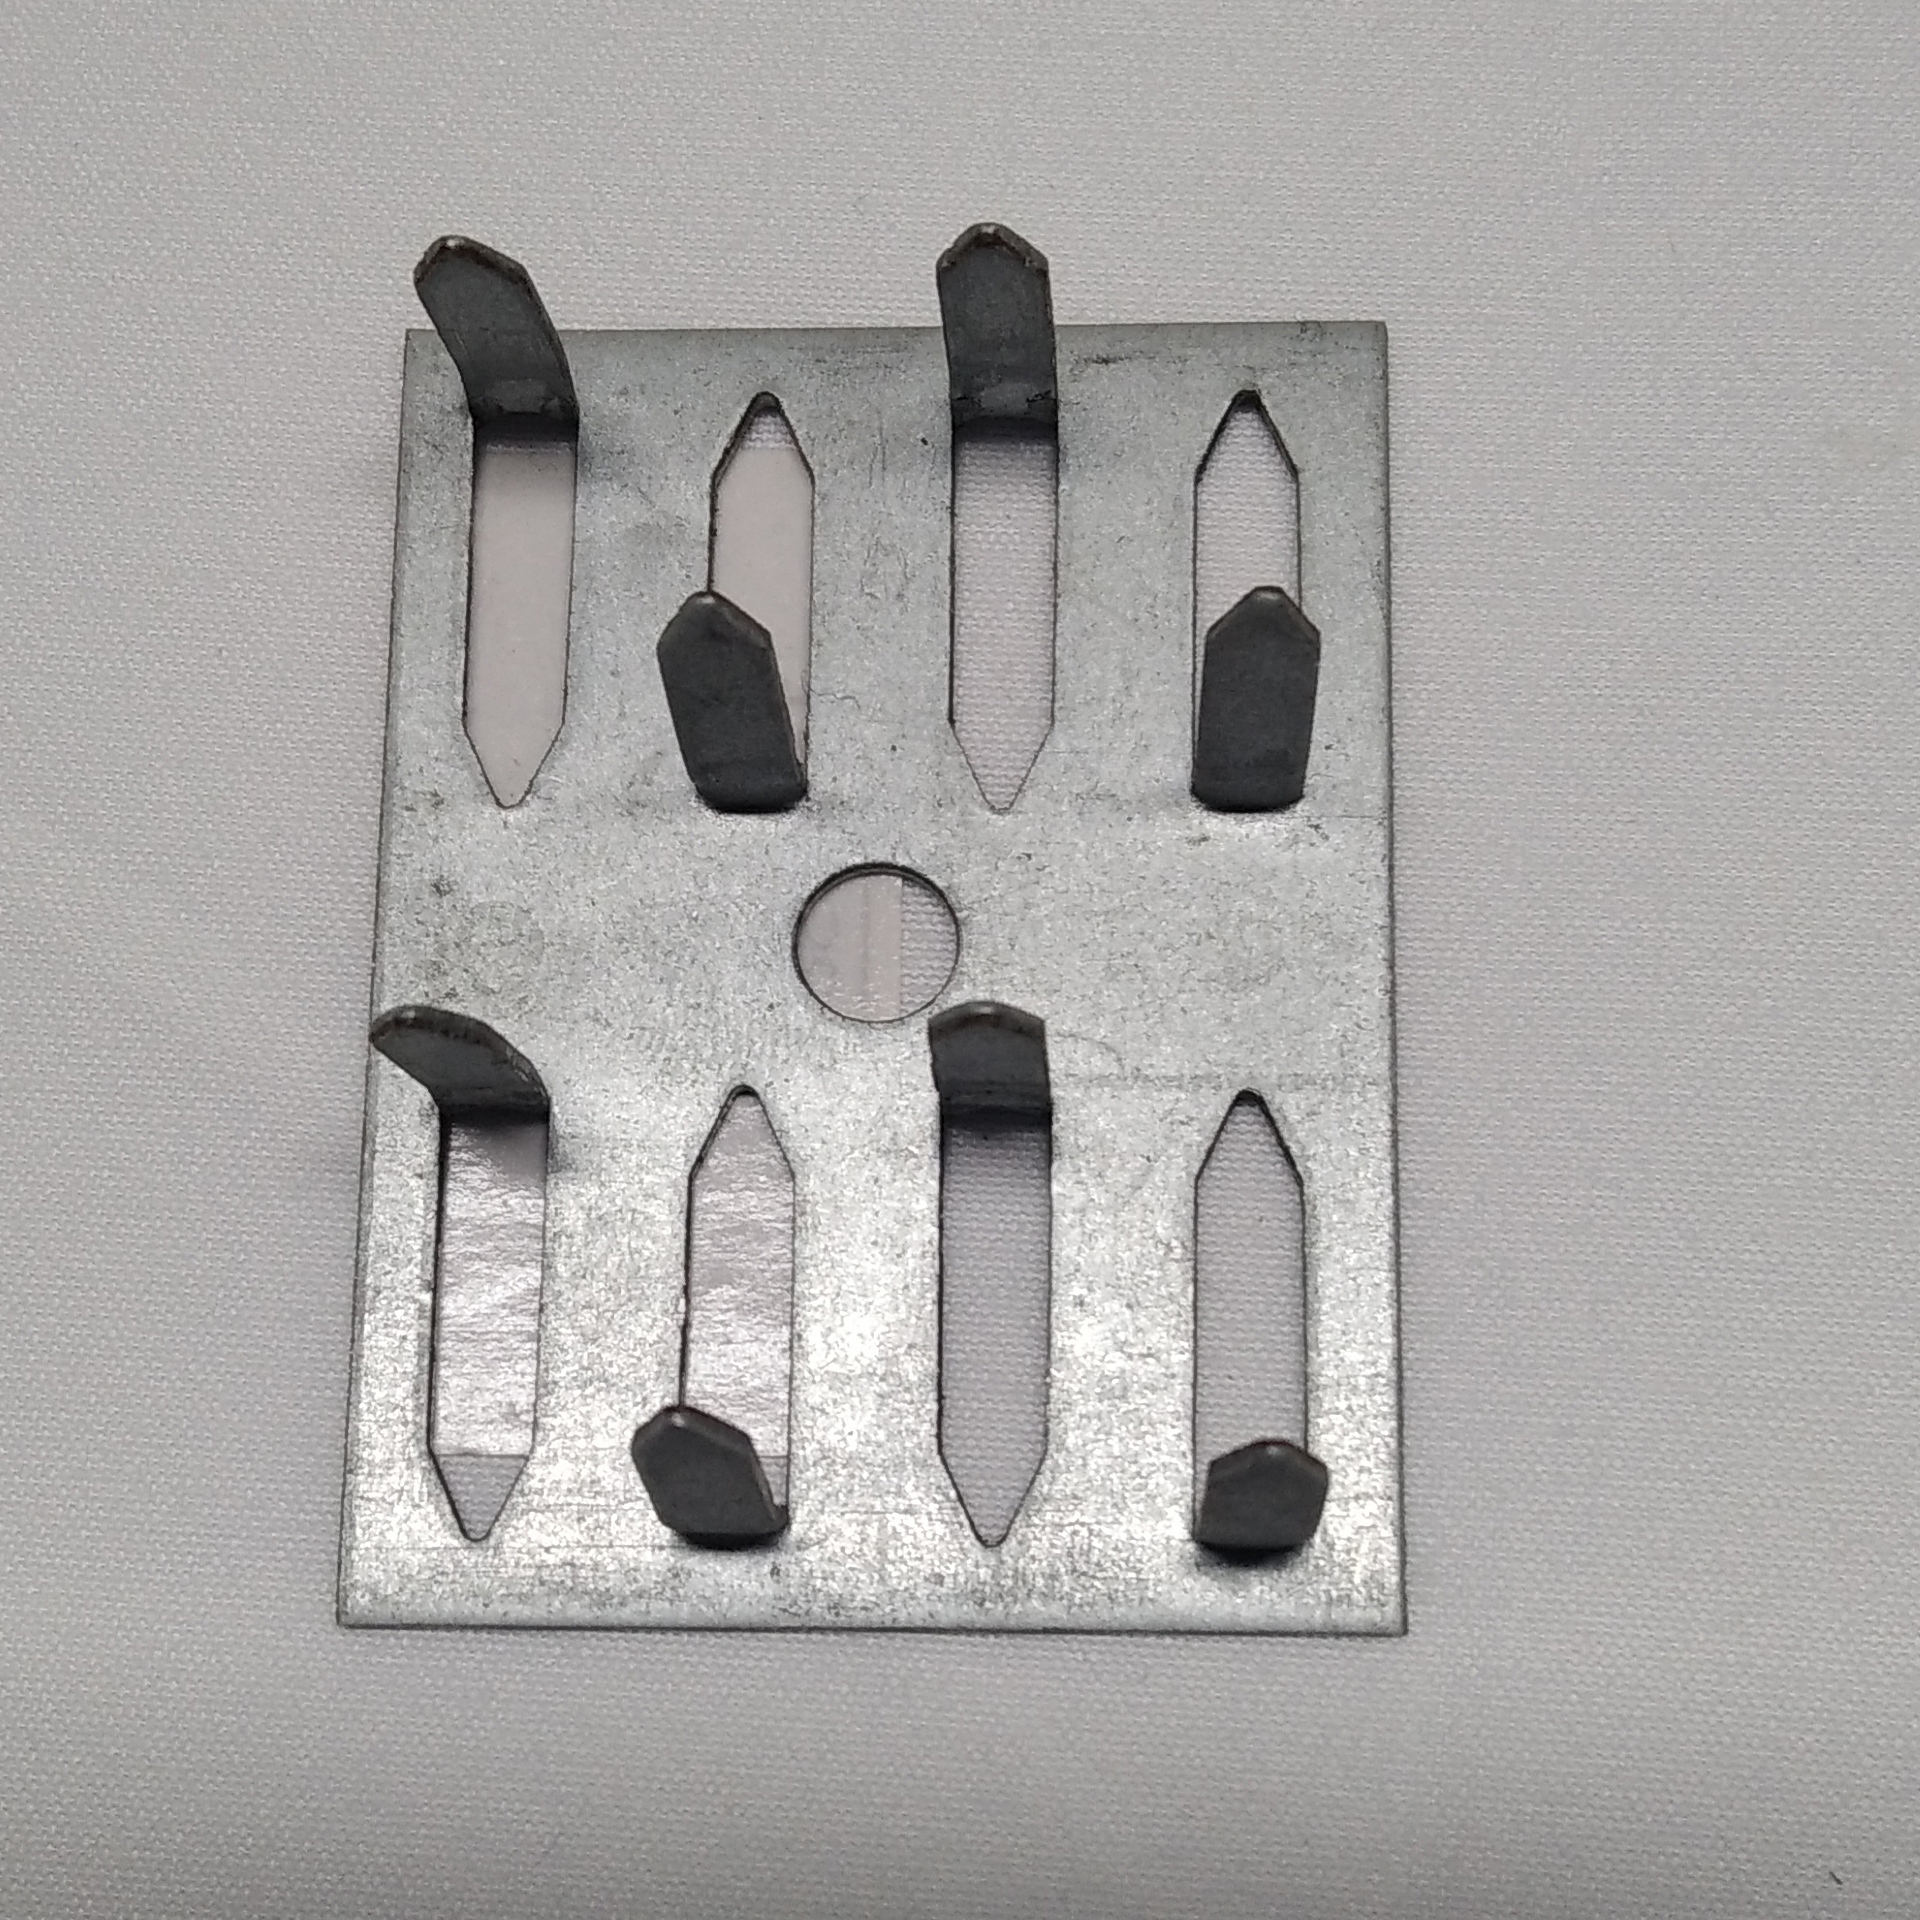
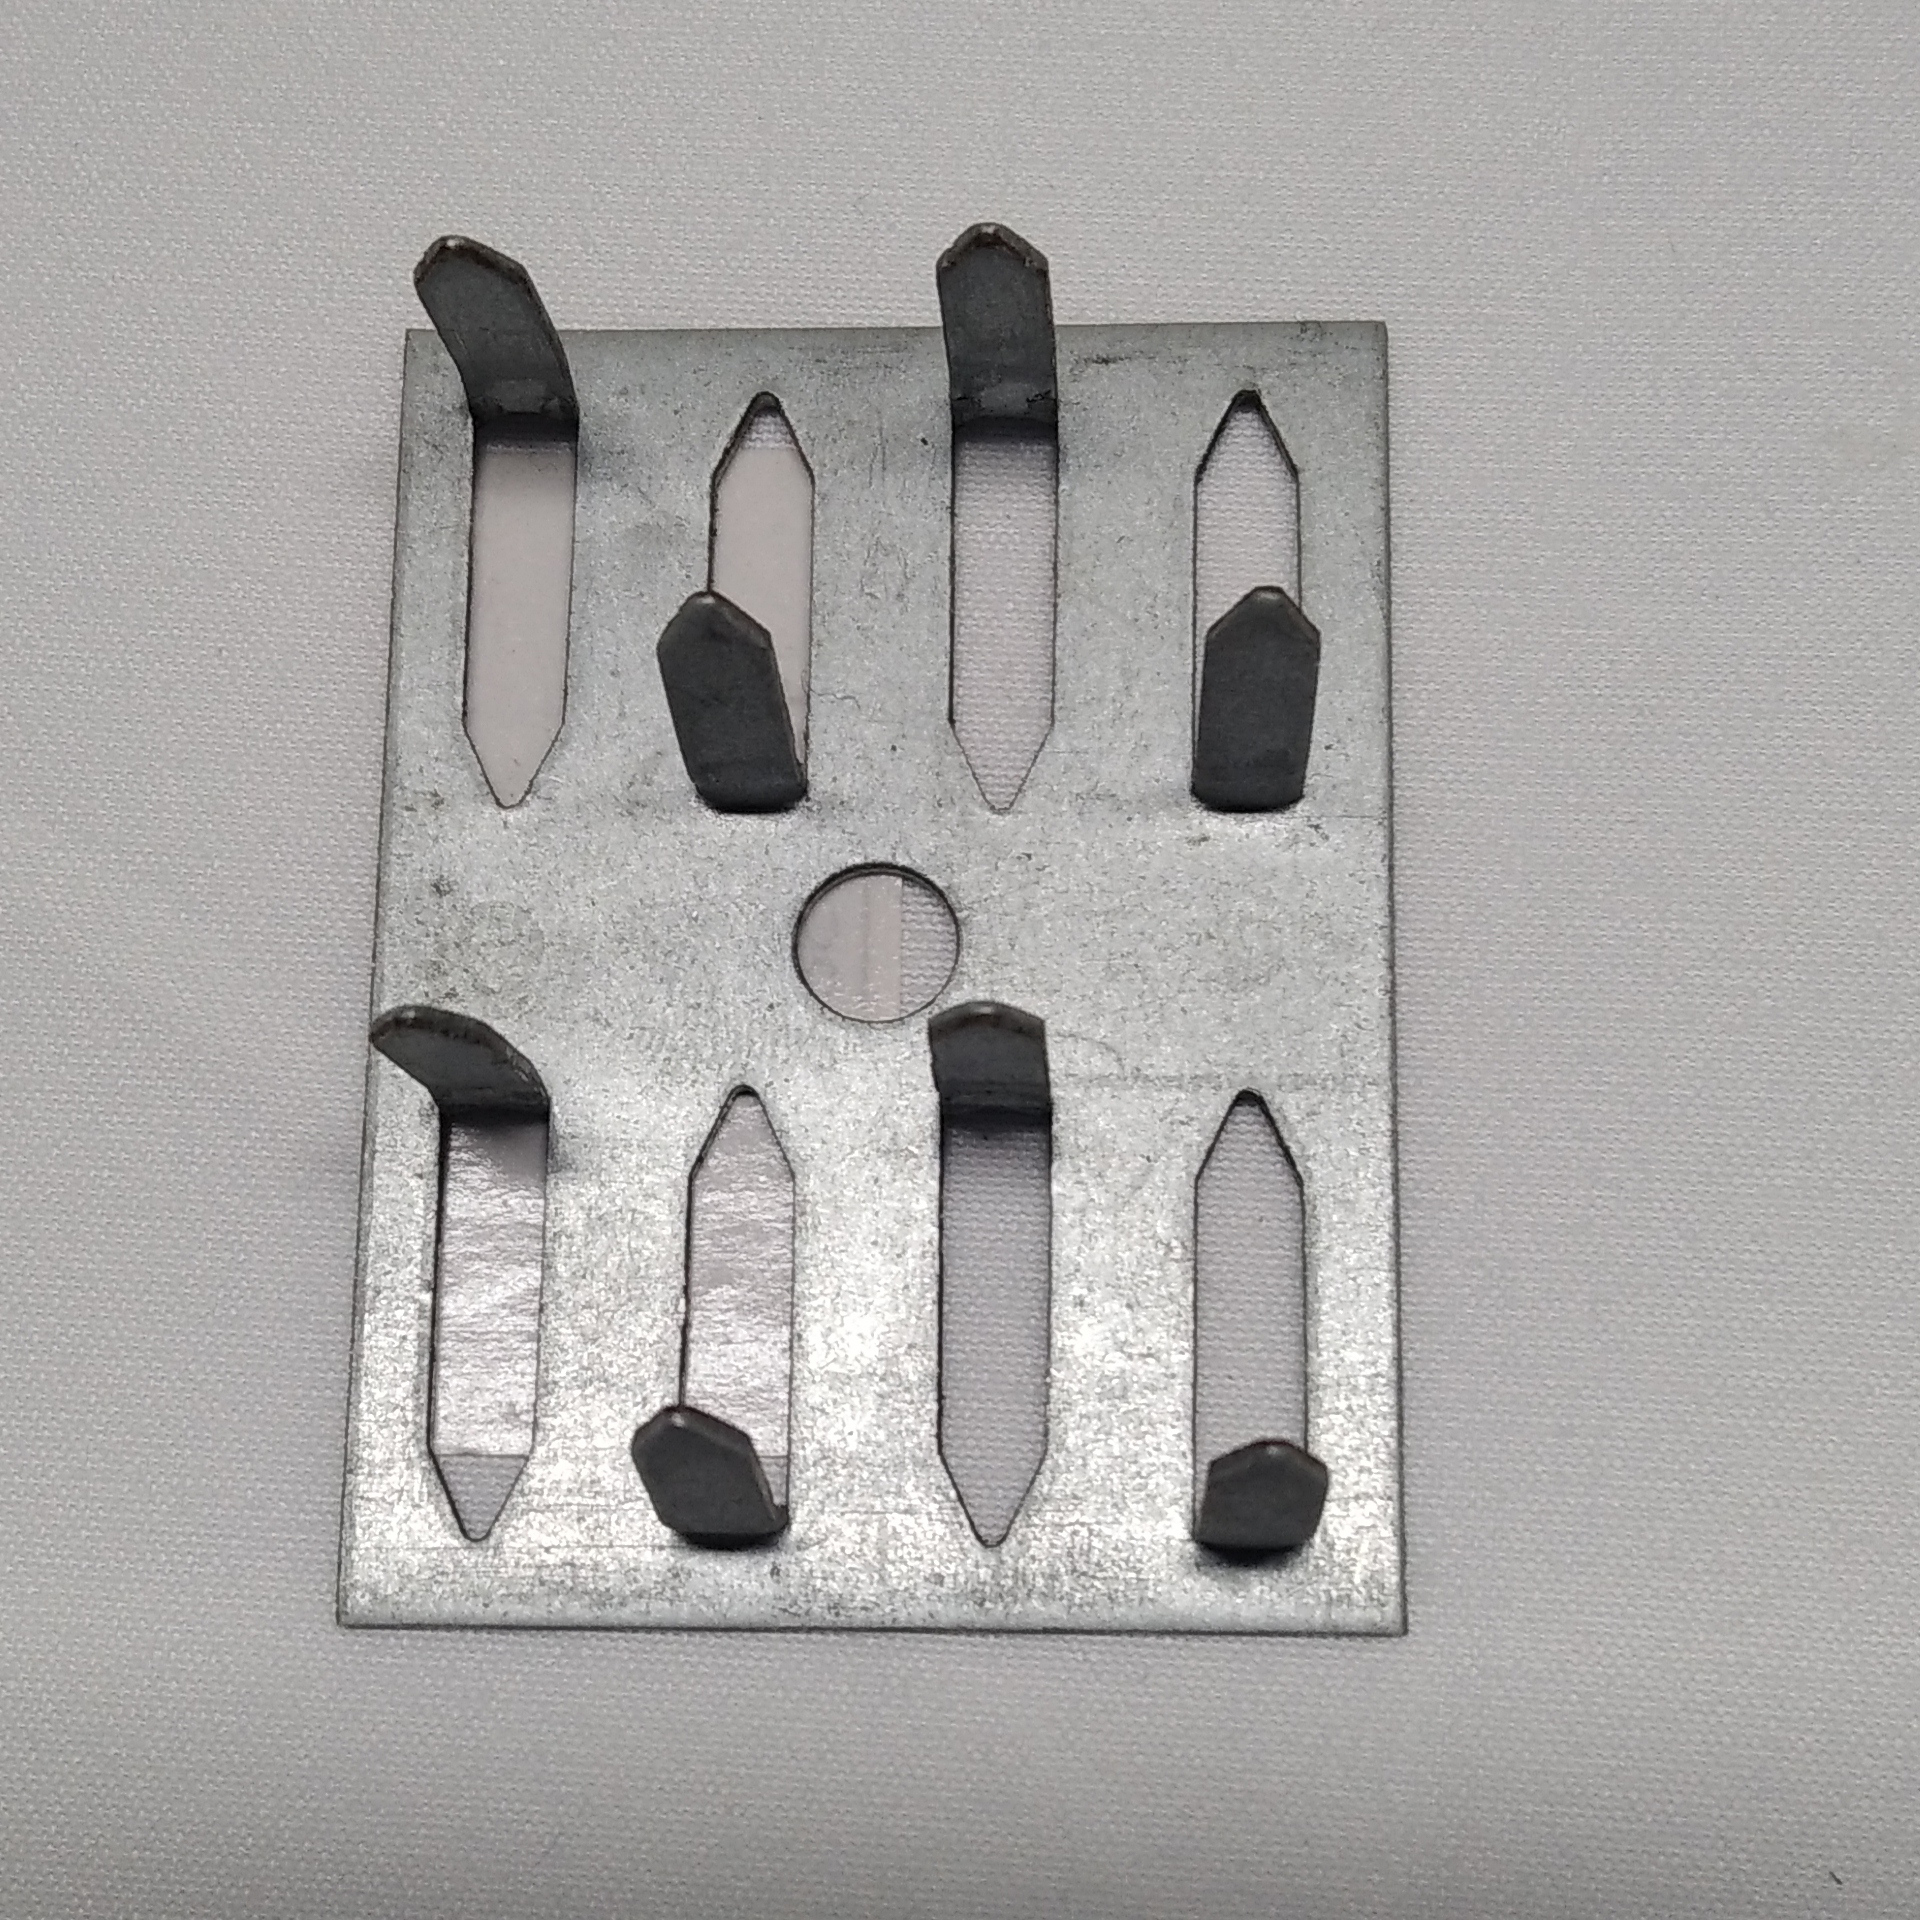
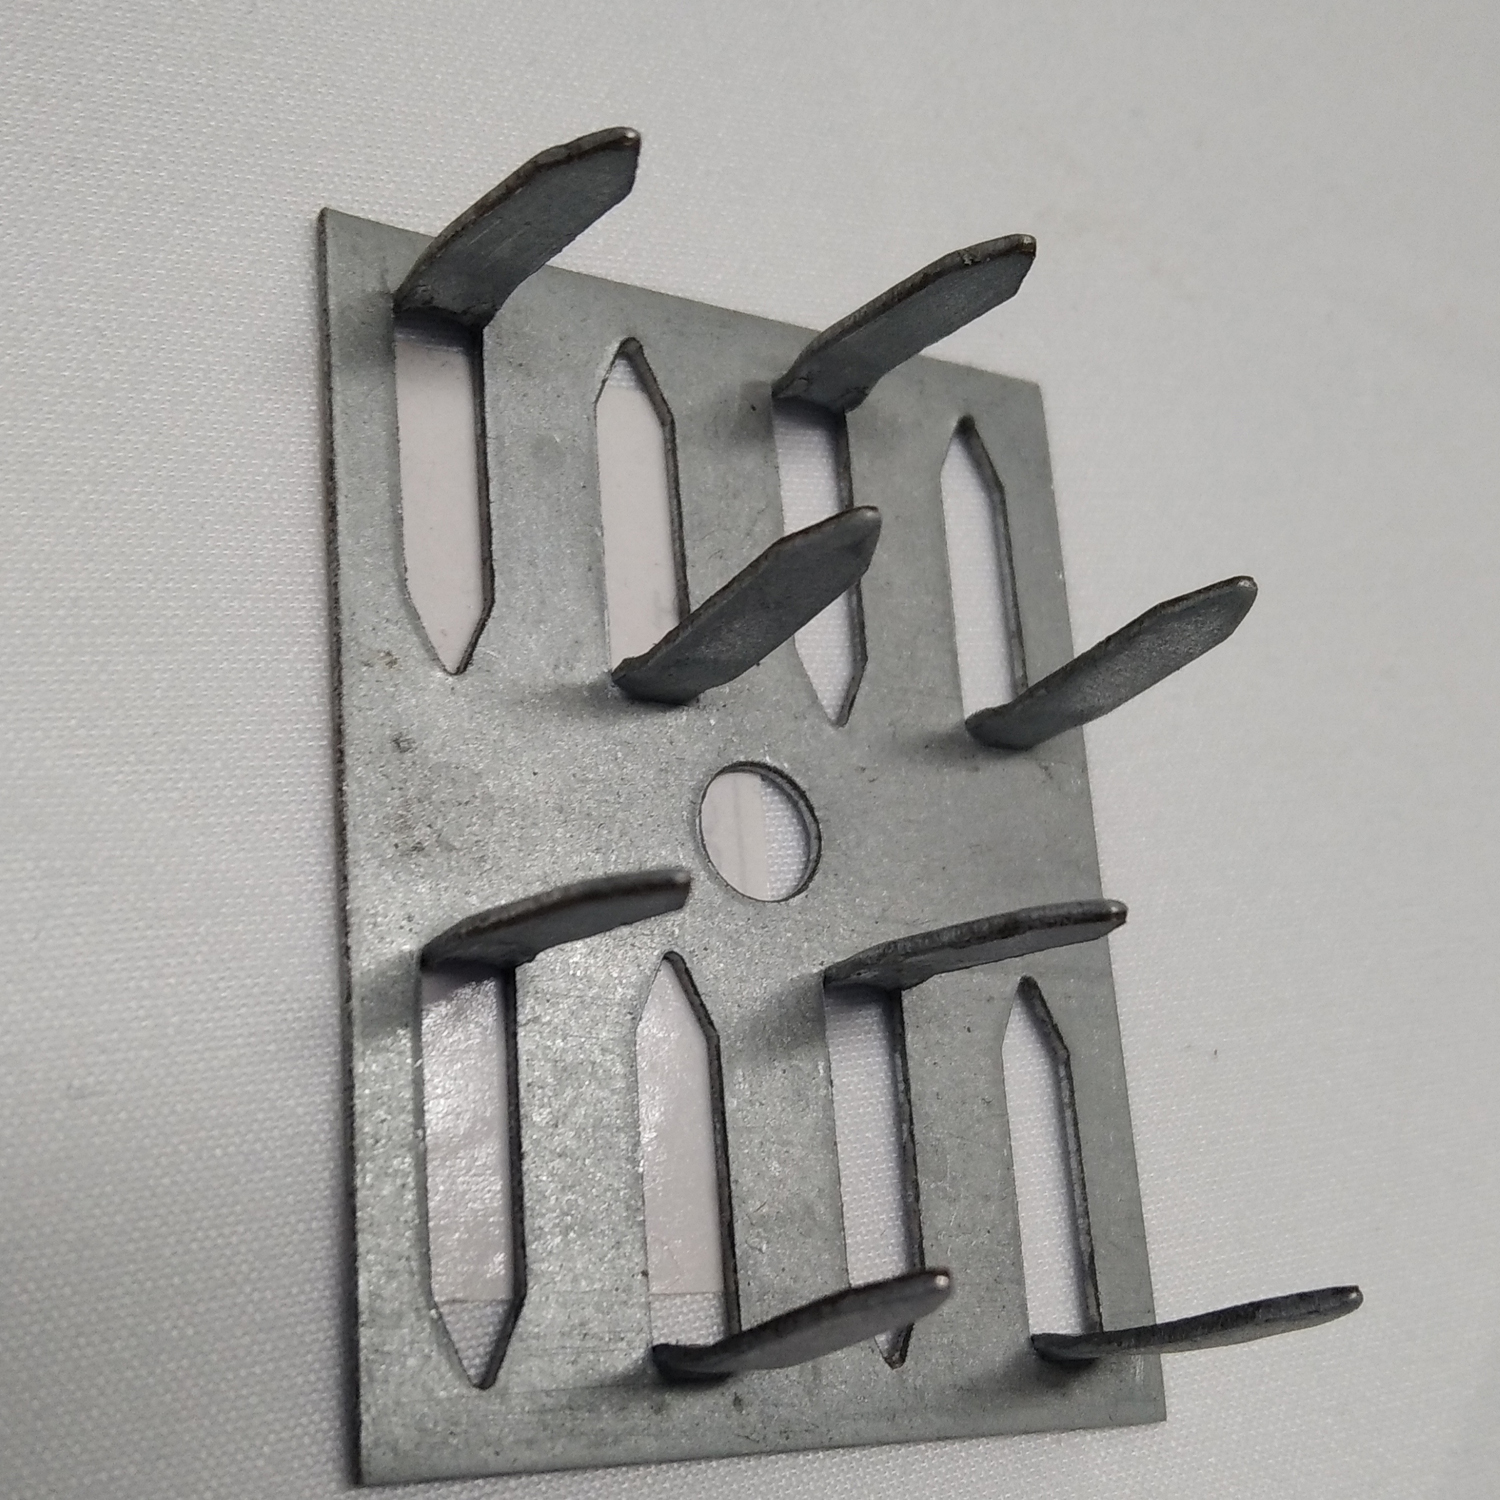
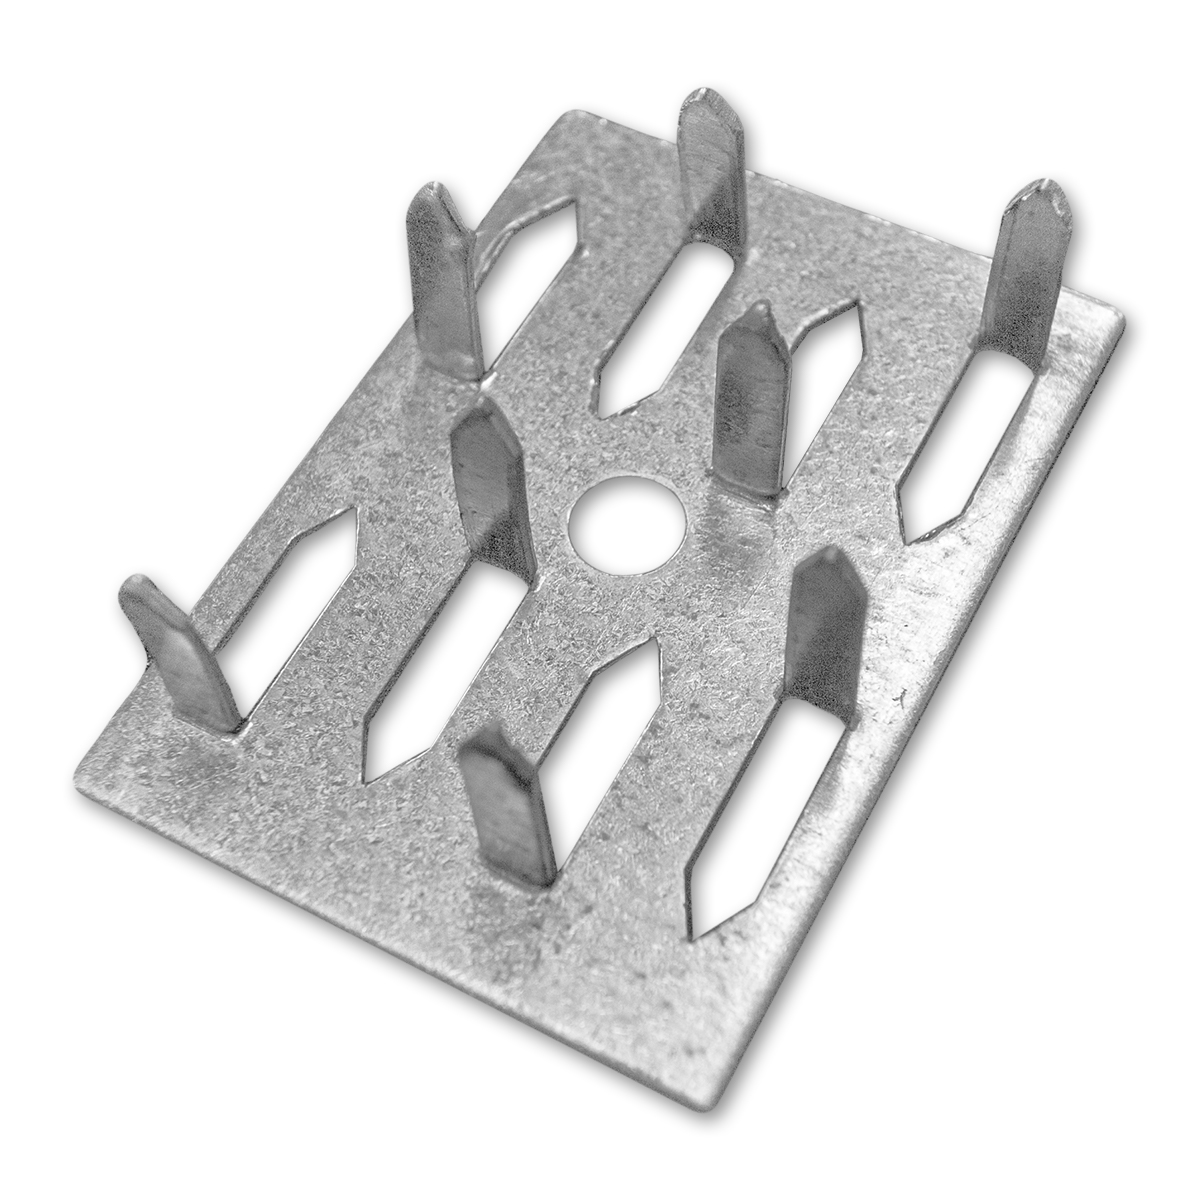
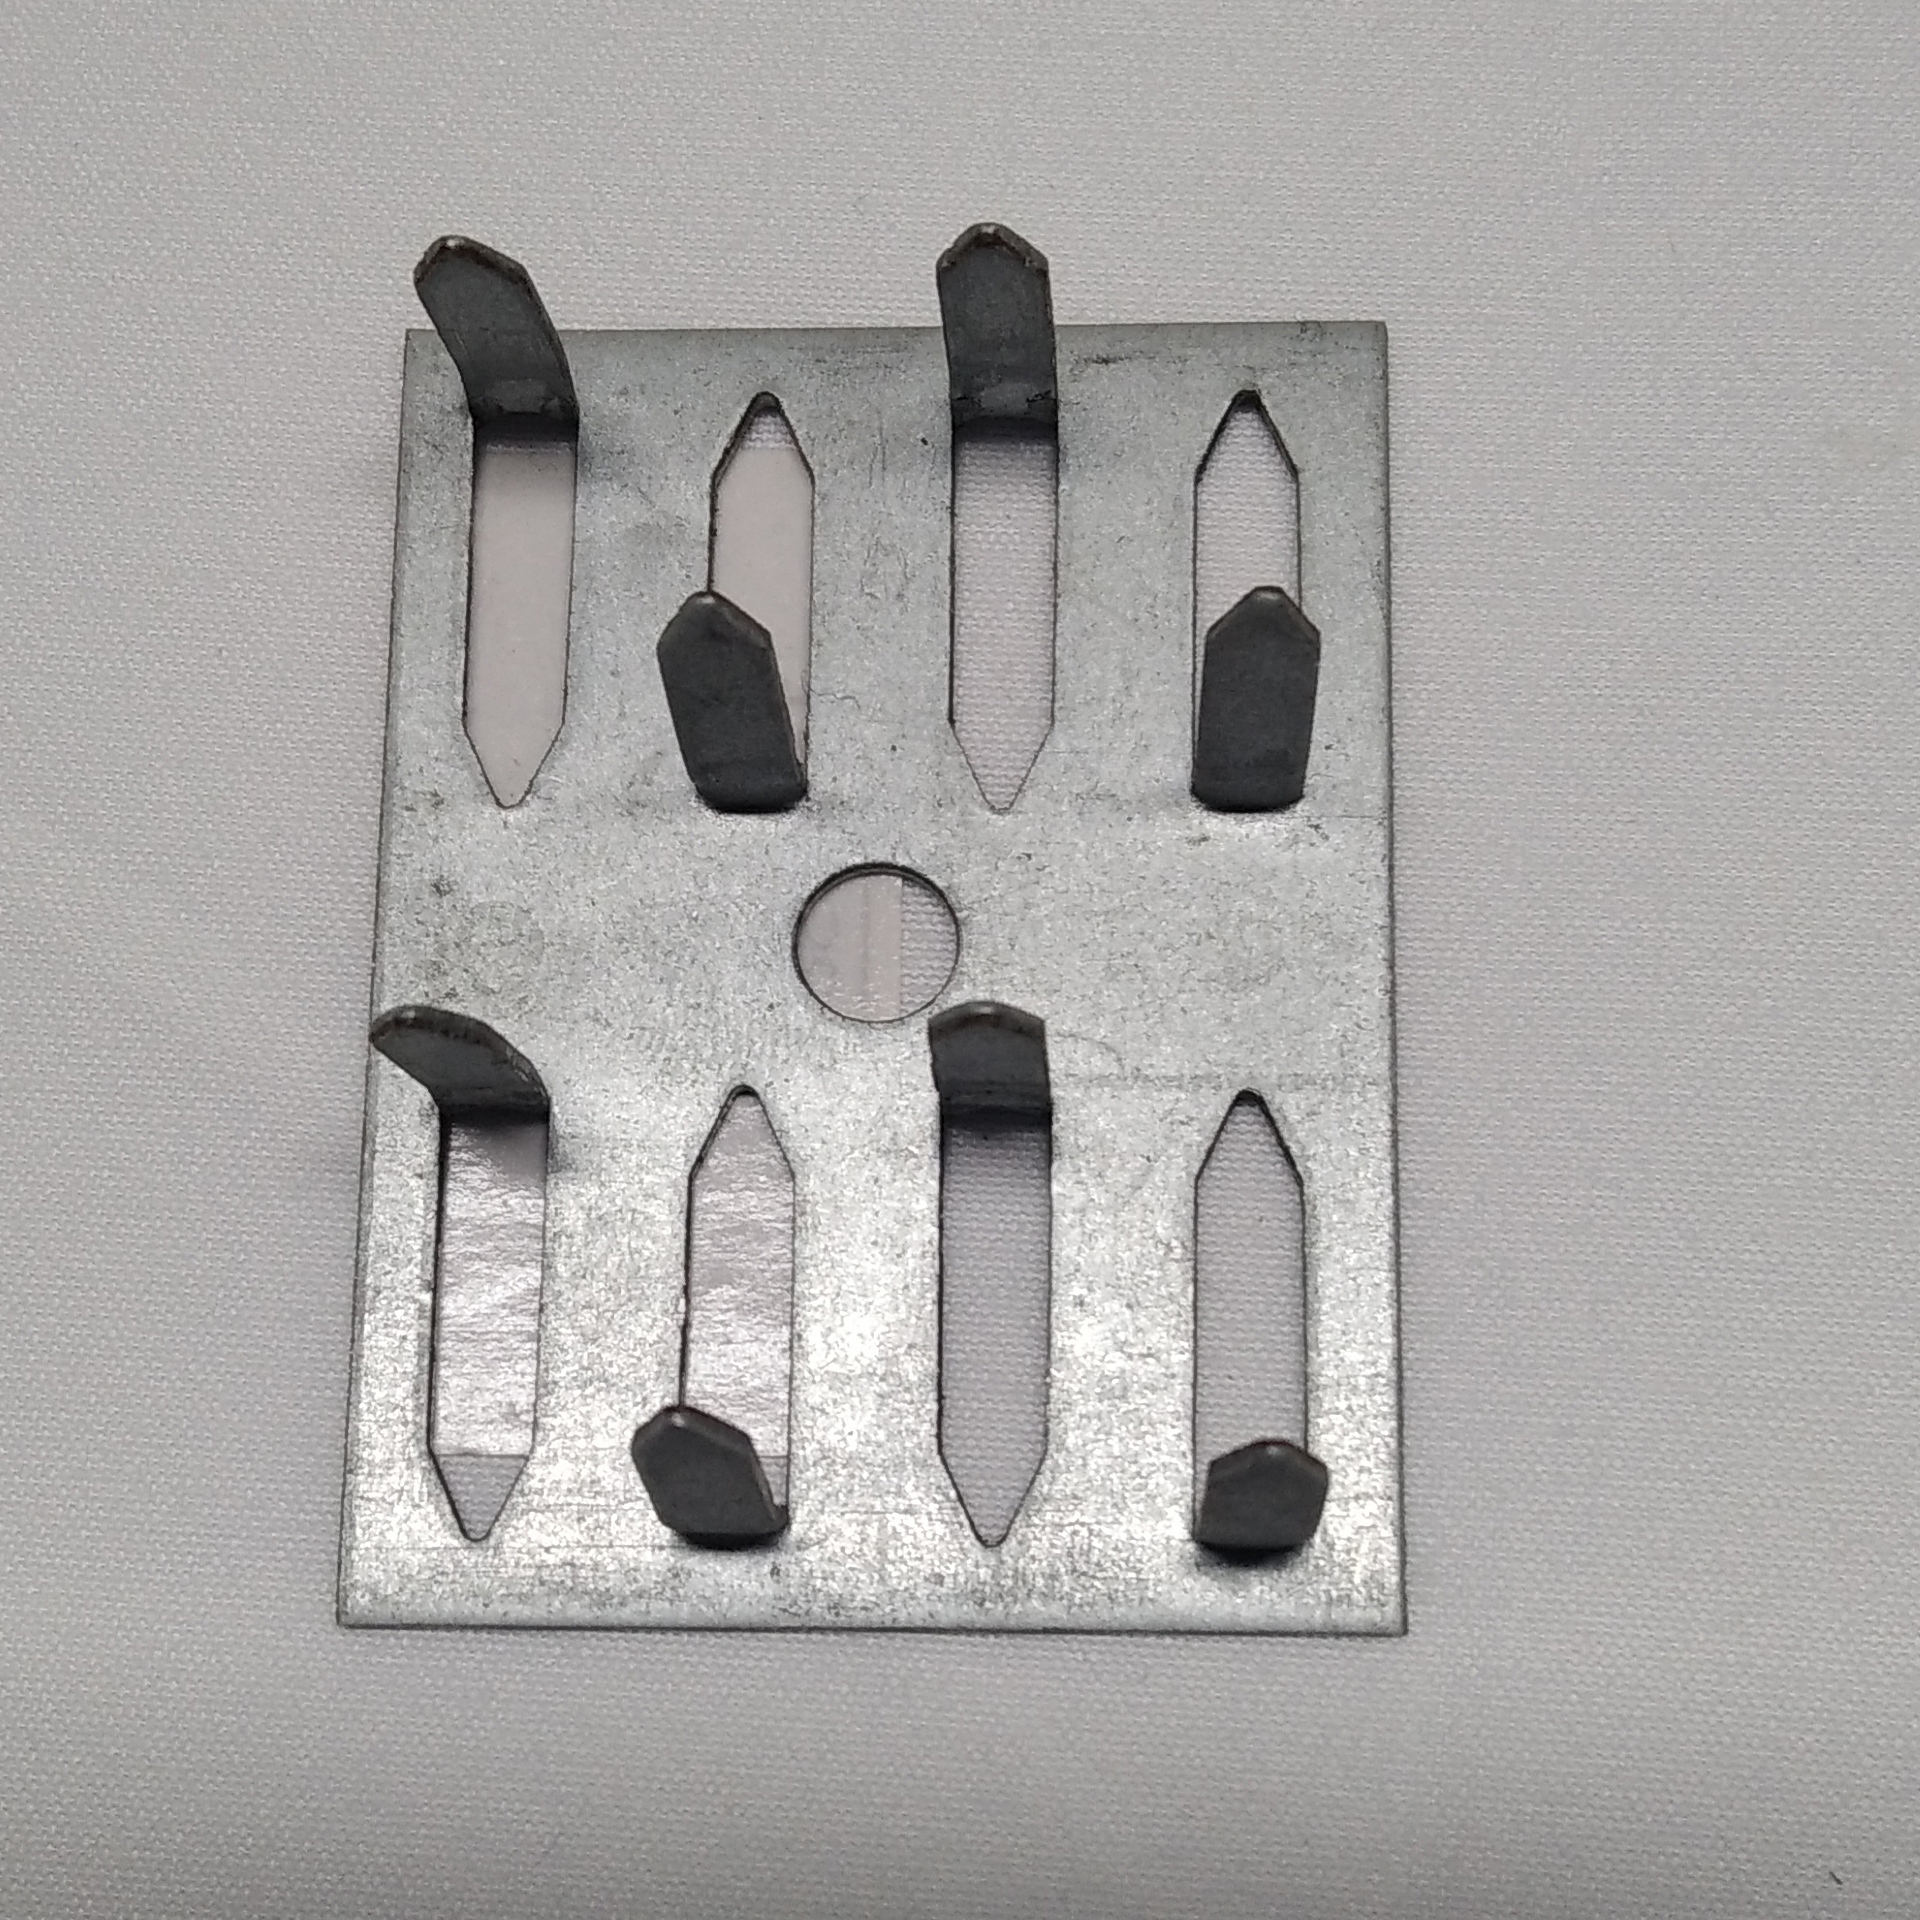
Impaling clips are used to easily attach Acoustic Panels (703 /705 Board) to walls. Each clip has 8 spikes that stick into the fiberglass panel backing and hold the panel in place. The dimensions of the clips are 2-1/8" x 1-1/2". The impaling clips are installed on the wall by either 1 drywall screw (not included) or attached with adhesive (Multi-Seal 180). 4-6 impaling clips are recommended per standard 2' x 4' panel making sure one impaling clip is placed in each corner. For panel applications requiring an air gap, wood spacer blocks can be installed between the acoustic panel mounting hardware and the drywall to keep the panel spaced off of the wall.
TECHNICAL INFORMATION:
Size: 1-1/2″ x 2″
Depth: 5/8″
Impaling Clip 8 prong with center hole Size: 1-1/2 in. x 2-1/8 in.
Composition: Extruded metal
Intended use: To be used in conjunction with construction adhesive when installing fiberglass acoustical panels.
Packing: Box of 100
INSTRUCTIONS:
1. Determine the location of your panel and have one person hold it up in place while the other person makes a light mark on the wall to show all 4 corners.
2. Attach 4 Impaling Clips approx 3" off each corner edge and an optional 2 more impaling clips 3" in from the edge of the center of the panel. Acoustic panel mounting hardware should be screwed into the studs, so moving the clips a little to hit a stud is recommended. If screwing into a stud is not possible, use a drywall anchor type screw to ensure a proper hold.
3. For permanent placement, use adhesive on the wall to stick the back of the panel to the wall (adhesive such as Multi-Seal 180 is recommended).
TECHNICAL INFORMATION:
Size: 1-1/2″ x 2″
Depth: 5/8″
Impaling Clip 8 prong with center hole Size: 1-1/2 in. x 2-1/8 in.
Composition: Extruded metal
Intended use: To be used in conjunction with construction adhesive when installing fiberglass acoustical panels.
Packing: Box of 100
INSTRUCTIONS:
1. Determine the location of your panel and have one person hold it up in place while the other person makes a light mark on the wall to show all 4 corners.
2. Attach 4 Impaling Clips approx 3" off each corner edge and an optional 2 more impaling clips 3" in from the edge of the center of the panel. Acoustic panel mounting hardware should be screwed into the studs, so moving the clips a little to hit a stud is recommended. If screwing into a stud is not possible, use a drywall anchor type screw to ensure a proper hold.
3. For permanent placement, use adhesive on the wall to stick the back of the panel to the wall (adhesive such as Multi-Seal 180 is recommended).

 Metal Bracket for Timber Framing and Structural Wood Support
  Stamping
  Compact & Strong 3U 19-Inch Rack Mount – Vertical or Under-Desk, Ideal for IT Equipment
  1U–4U Universal Rack Mount Bracket with Square Hole Rack Rails
  Premium Rack Rail Sets– Full Range 1U to 42U for Servers, AV & Studio Equipment
 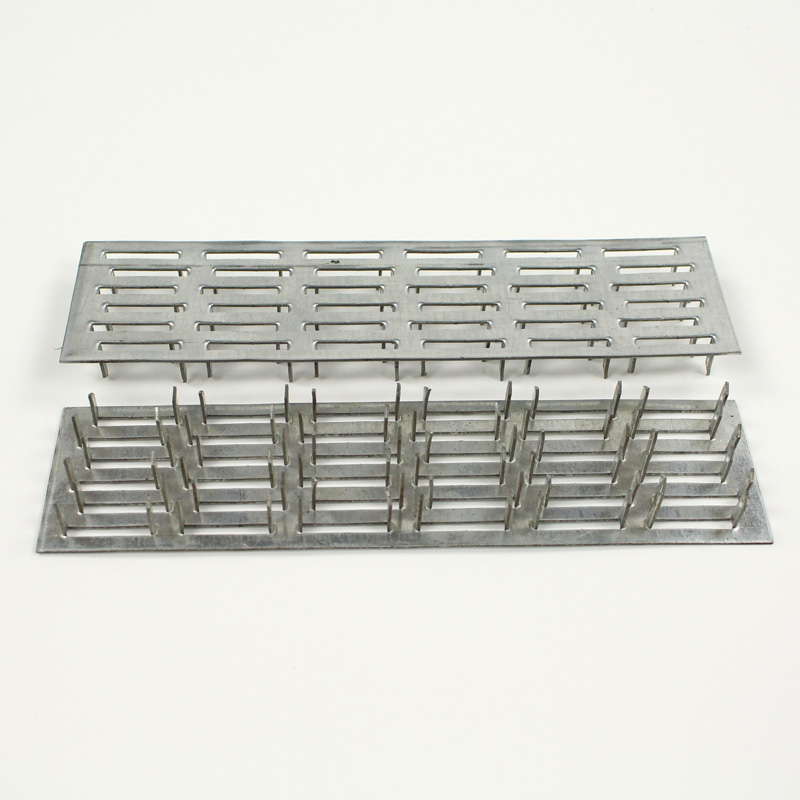 Truss Connector Plates: Secure and Versatile
 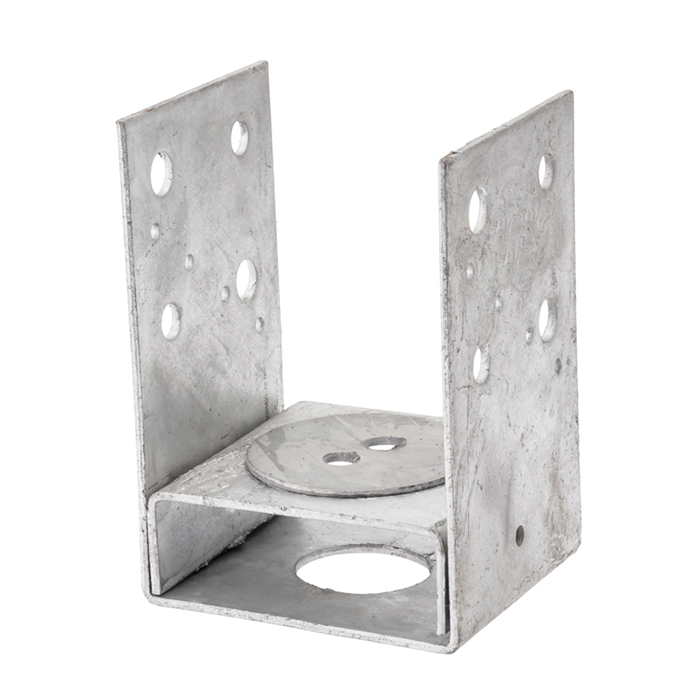 The Importance of Using Timber Connectors
  China's Biggest Timber Merchants: Your One-Stop-Shop for Connectors
 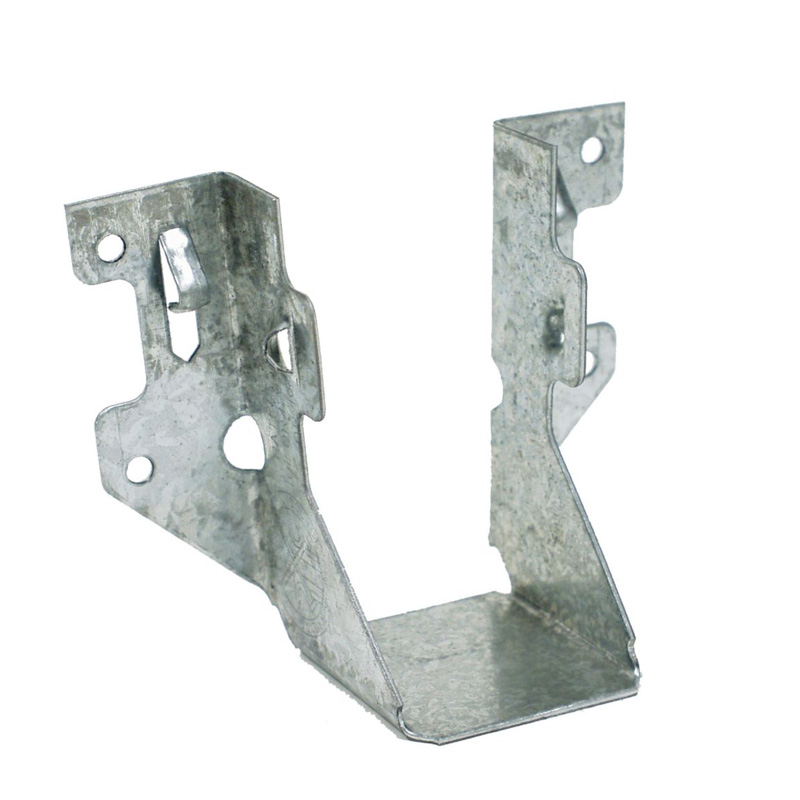 Timber Connectors
 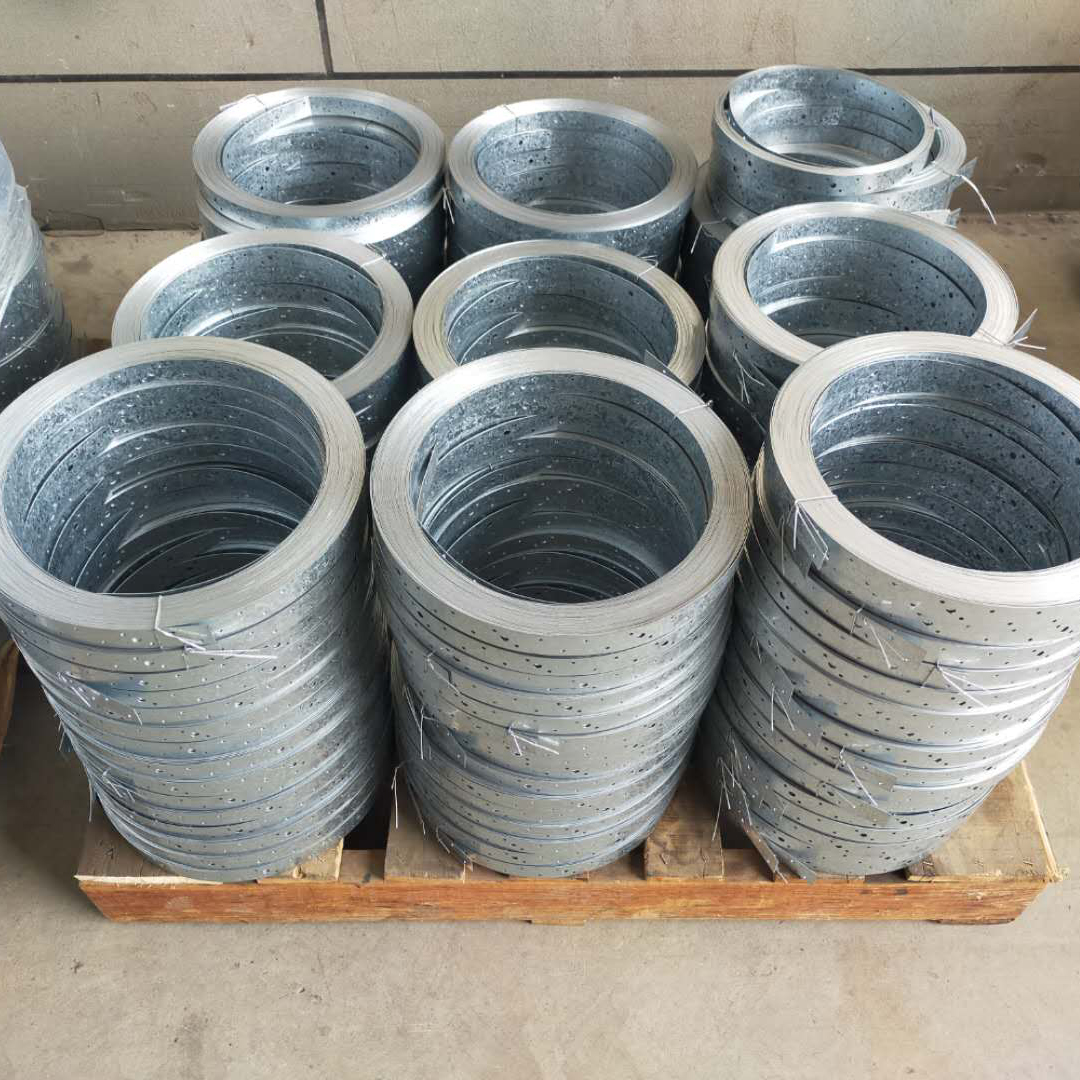 galvanised hoop iron ties
 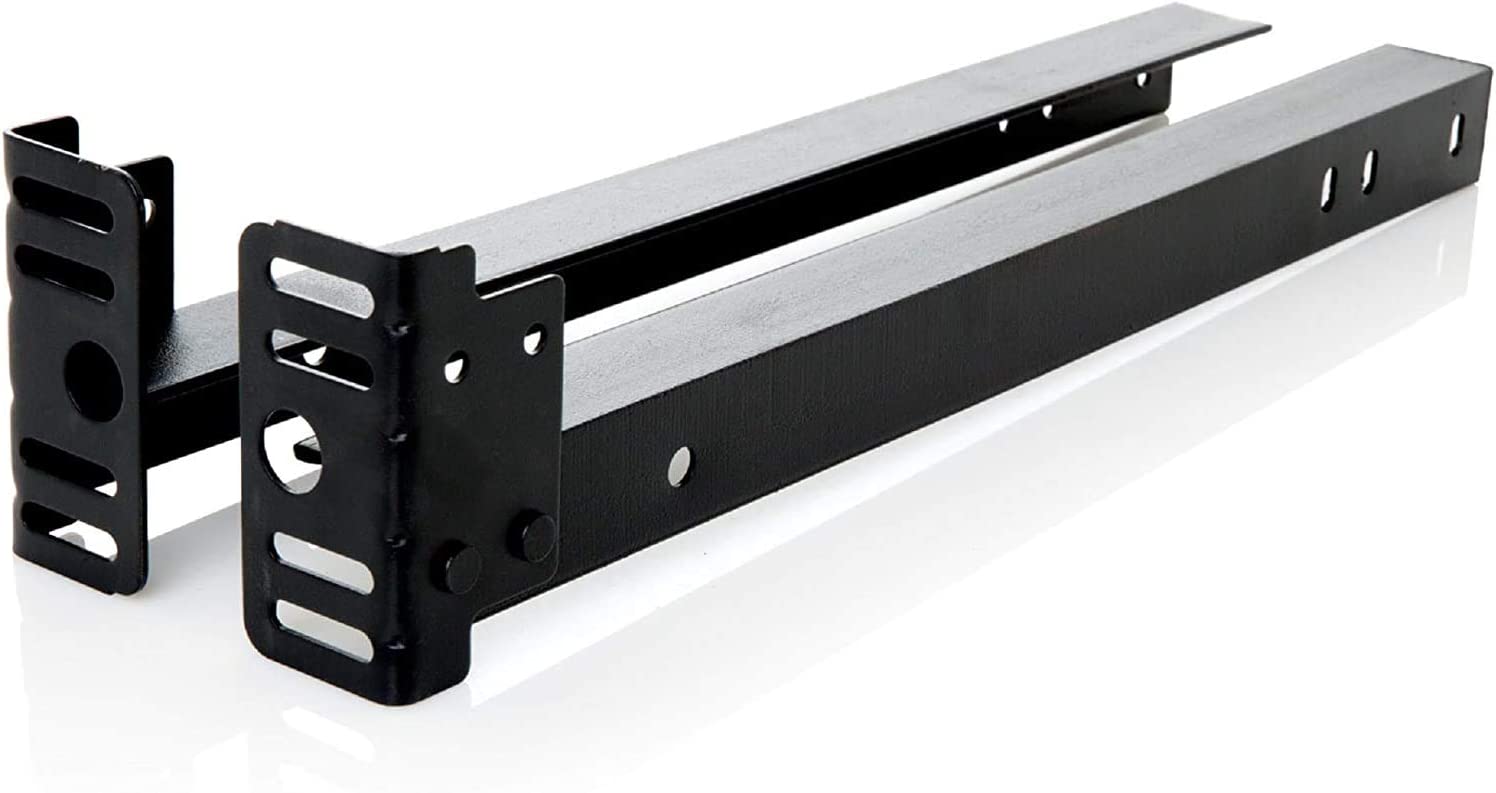 Surealong Bed Frame Brackets
 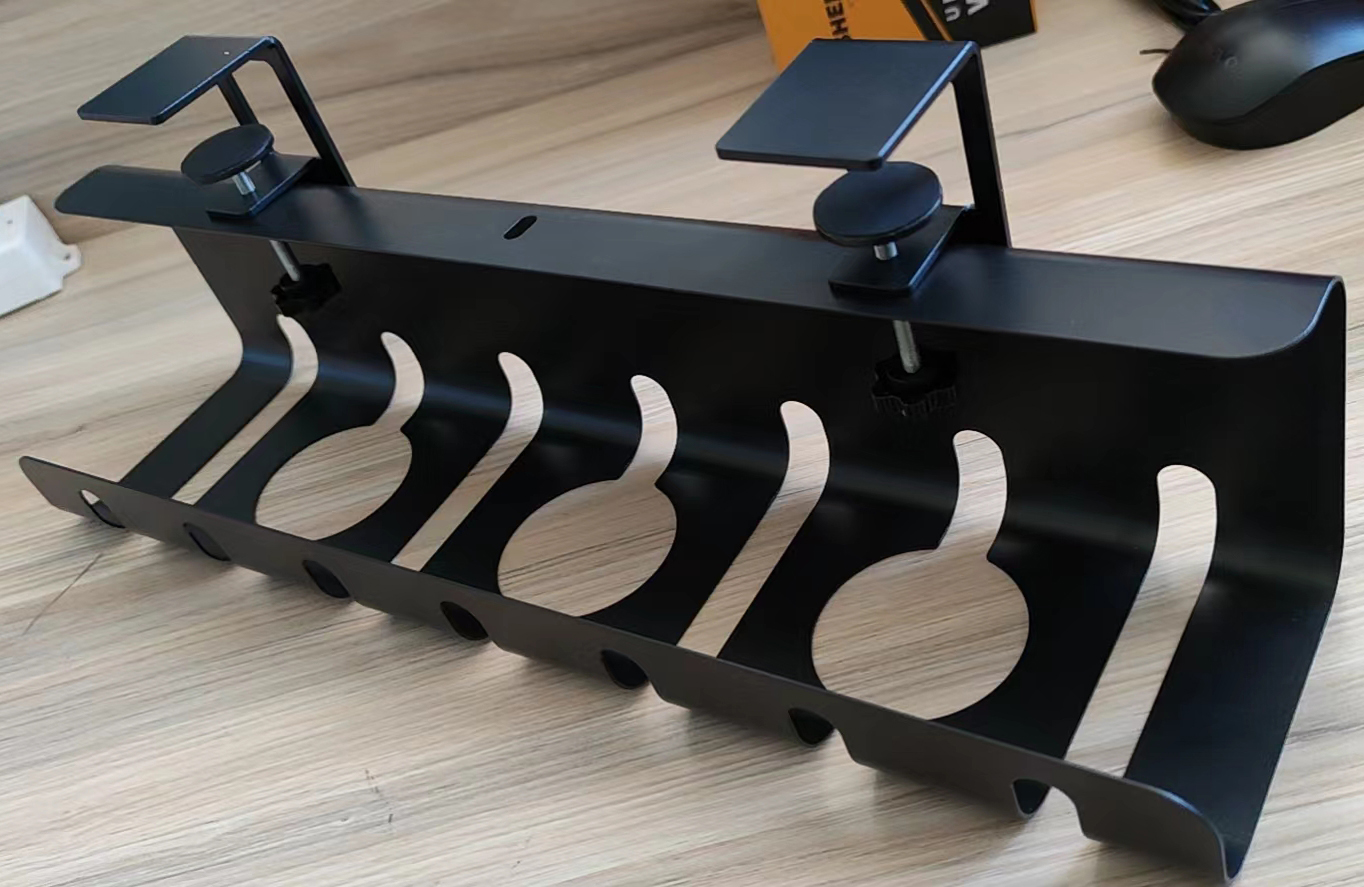 Under Desk Cord Tray
 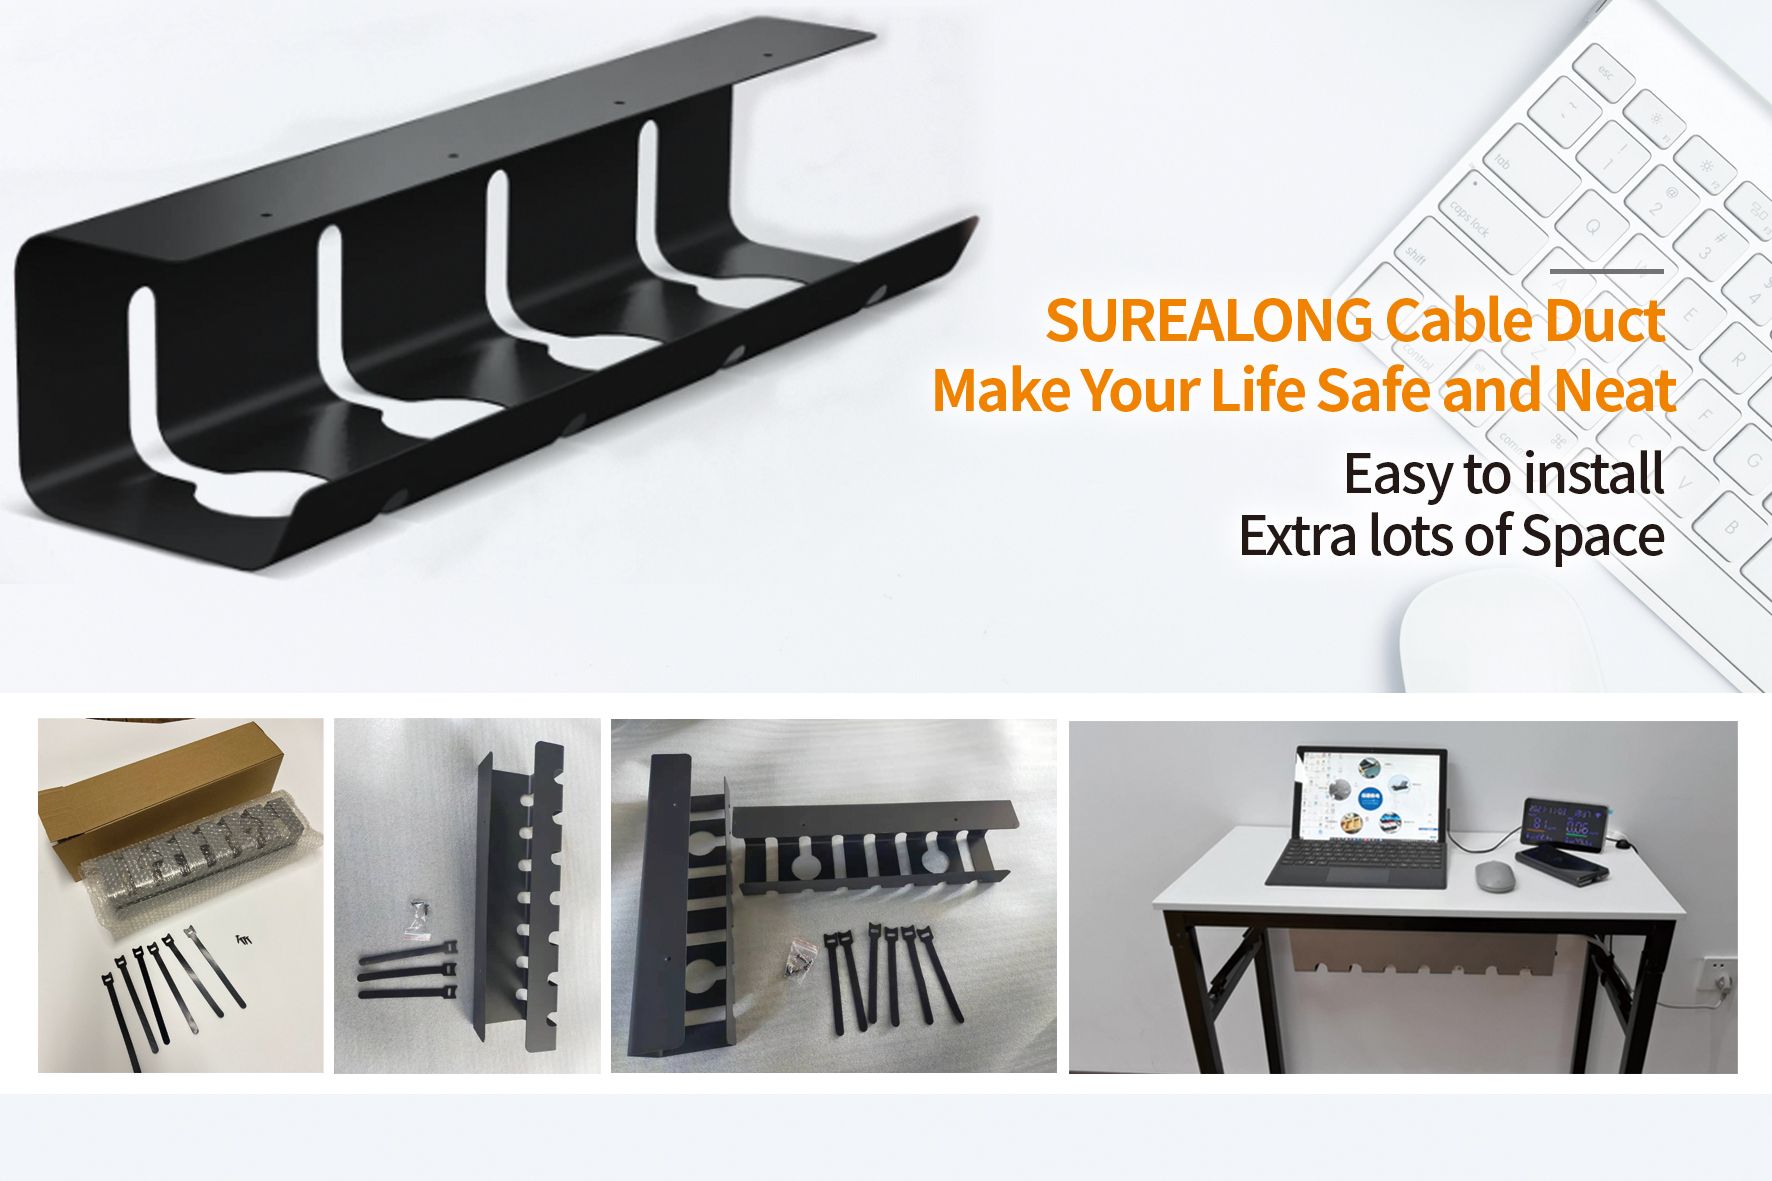 SUREALONG Cable Managment Tray